Install it yourself / Window well
The well is the part people underestimate and then regret. It has its own code minimums, it decides whether water ends up on your floor, and past a certain depth it owes a ladder that the window may not block.
Before the first shovel
A window well is dug tight against the foundation, exactly where services tend to run. The photo is what a gas line looks like when you find it with a spade. The call is free, it takes a few days, and it is the cheapest step of the whole project.
International Residential Code (IRC), 2021 edition
Two requirements, and the second one surprises people who have already finished digging.
The step that decides everything else
A window well is a hole that collects water against your foundation. It has to drain, and draining means either tying into the footing drain or running a vertical drain down to it, backfilled with gravel rather than the soil you dug out. This is the step do-it-yourself installs most often skip, and it is the one that shows up later as a damp wall.
Step one
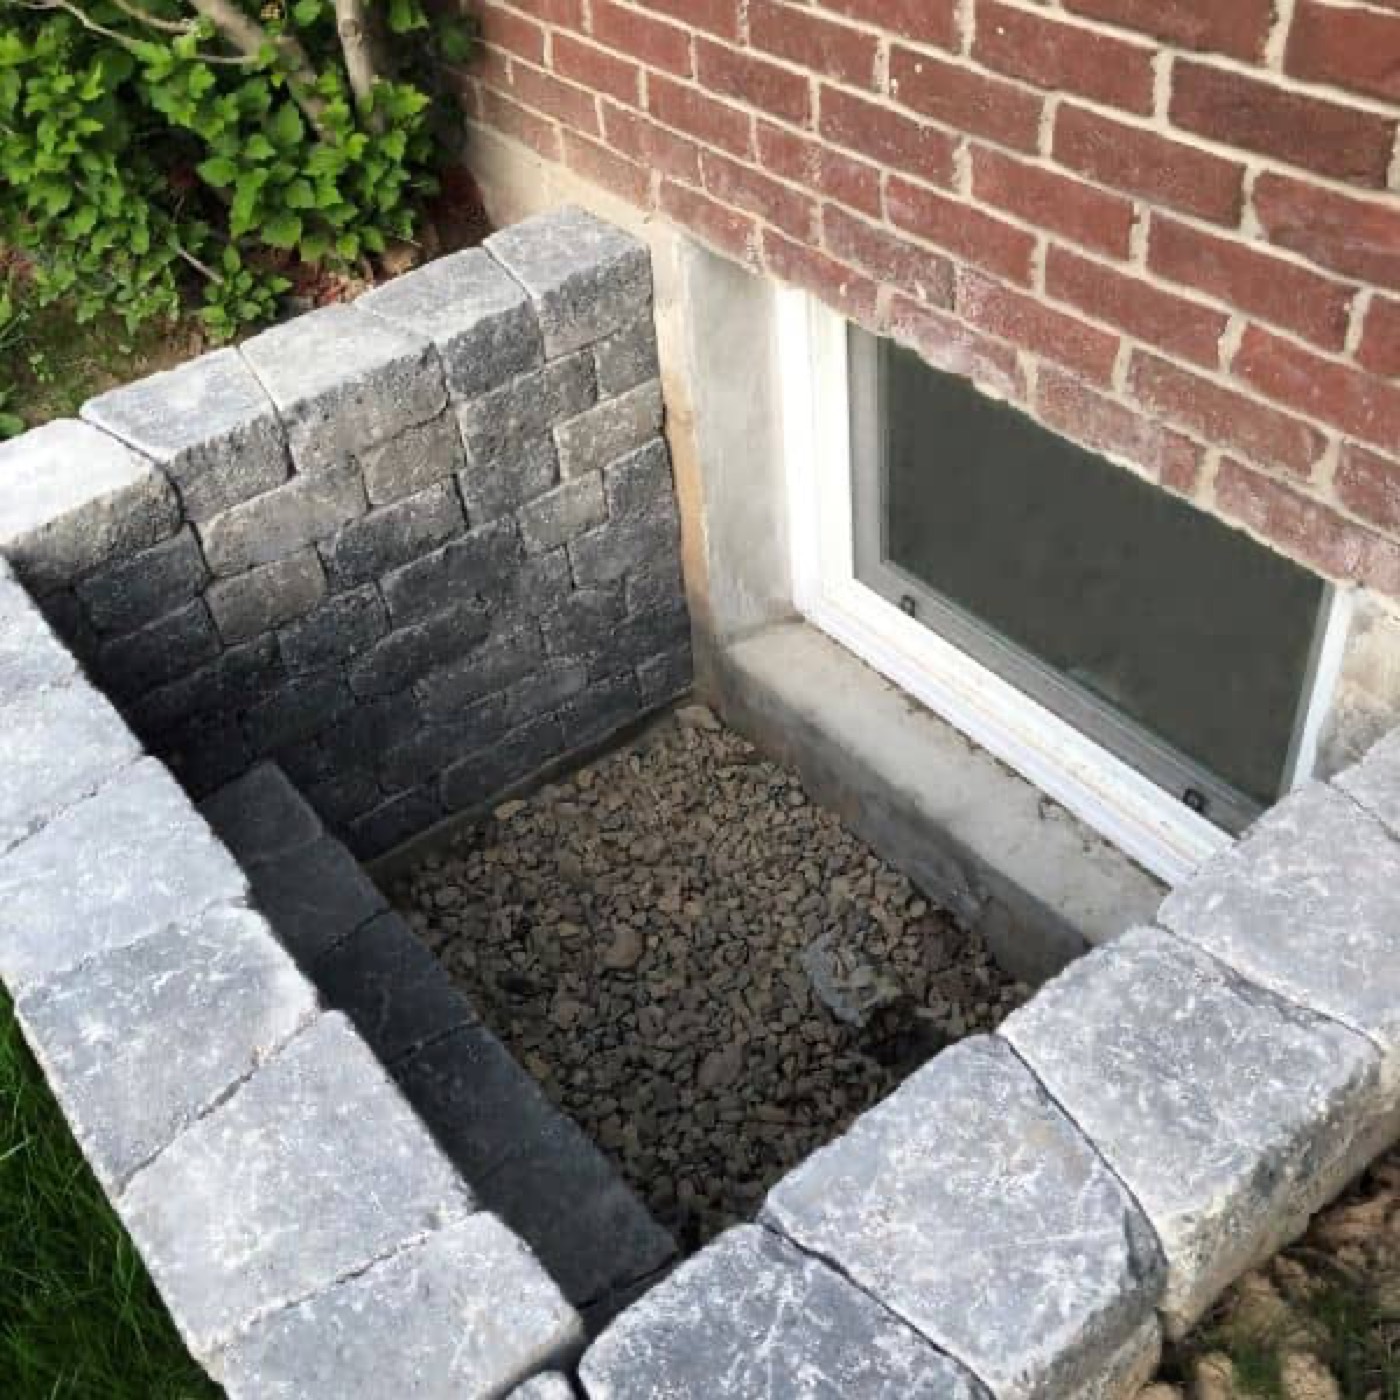
The well floor sits below the window sill, and the excavation goes deep enough to reach the drainage you are tying into.
Step two
A vertical drain down to the footing drain, then gravel. Backfilling with soil turns the well into a bucket.
Retaining the grade
A corrugated steel liner is the quick answer. Block or stone holds the grade back better and looks like something from inside the room, which matters more than people expect on a window you will look at every day.
And then the part you actually see
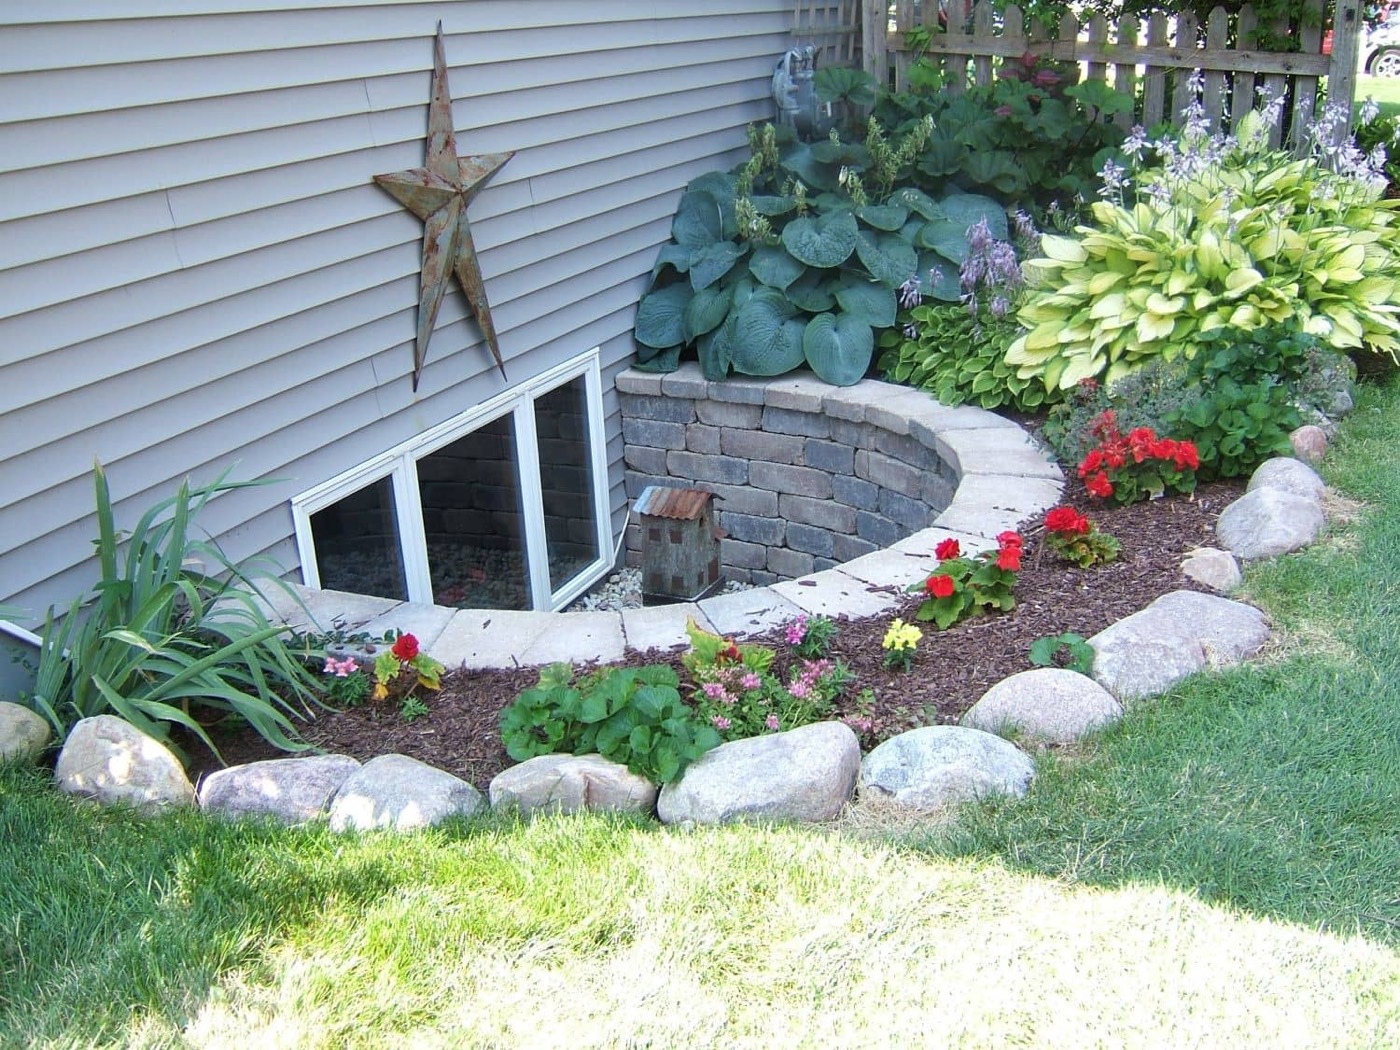
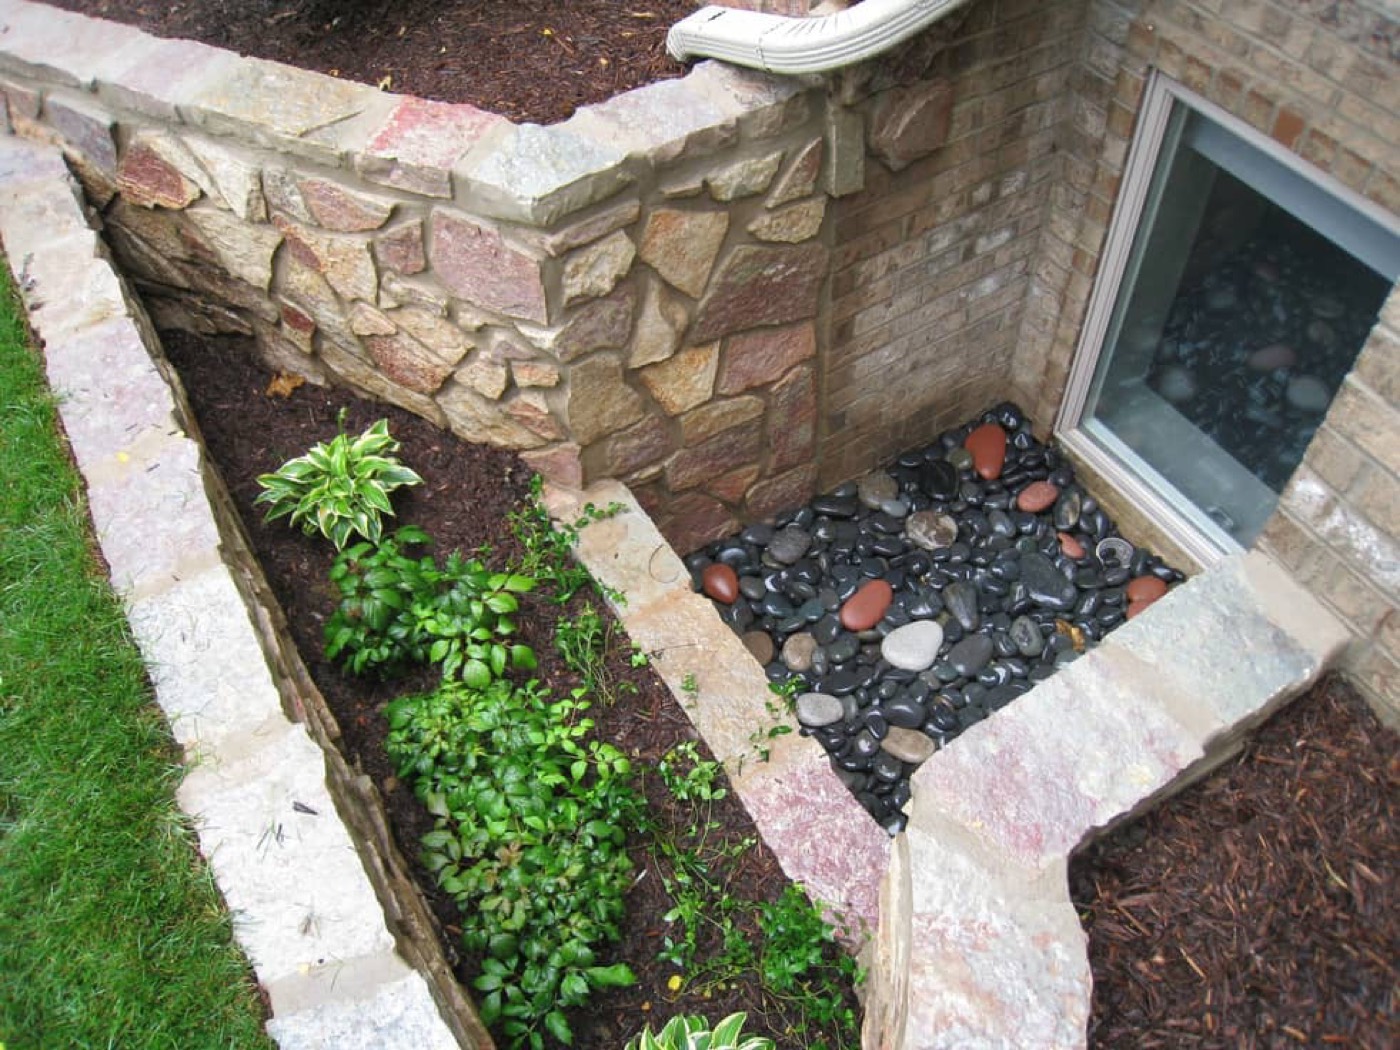
Once it drains and holds the grade, what is left is the view from inside. Stone, brick, or an open garden bed all work, and none of them cost much next to the excavation you have already paid for.


Photos: The Great Egress Co.
Depth is the question that decides it. Past 44 in the excavation stops being a shovel job and the drainage tie-in gets unforgiving.